
The 1966 Chevelle ignition system relies on a high-voltage spark generated by the ignition coil to power engine combustion. A comprehensive PDF wiring diagram provides detailed connections for the ignition coil‚ distributor‚ and spark plugs‚ ensuring proper electrical flow and reliable performance.
1.1 Overview of the Ignition Coil’s Role
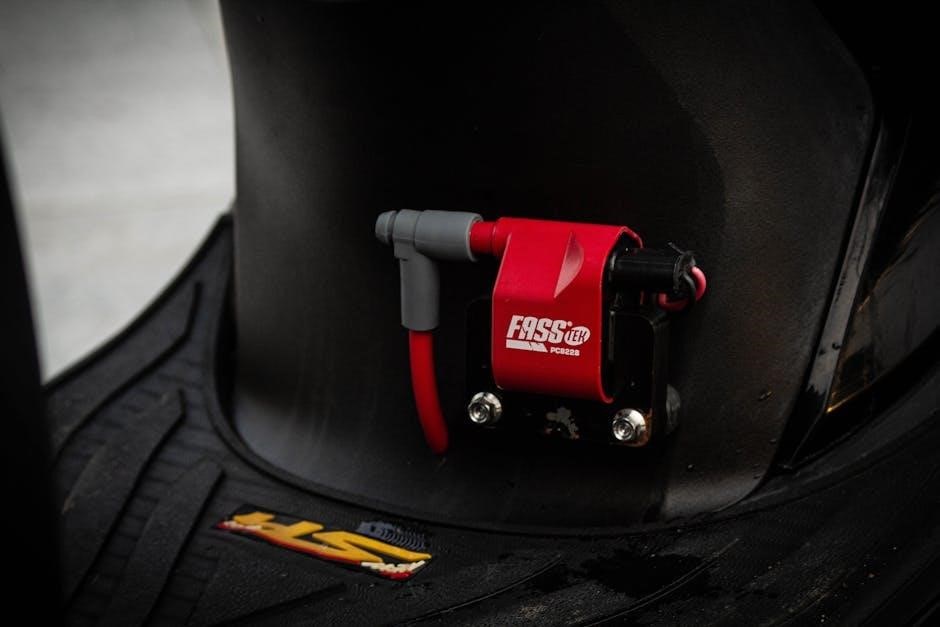
The ignition coil is the heart of the 1966 Chevelle’s ignition system‚ functioning as a transformer to convert the battery’s low voltage (12V) into the high voltage (thousands of volts) needed to create a spark. This high voltage is essential for igniting the air-fuel mixture in the engine’s cylinders. The coil’s operation is crucial for proper engine performance‚ and any malfunction can lead to issues like misfires or poor combustion. Its role is central to generating the spark that powers the vehicle‚ making it a vital component for reliable operation.
1.2 Importance of Proper Wiring in the Ignition System
Proper wiring is critical for the 1966 Chevelle ignition system to ensure reliable engine performance. Incorrect connections can lead to voltage drops‚ inconsistent spark delivery‚ and potential damage to components like the ignition coil or distributor. A well-wired system guarantees precise power flow‚ preventing misfires and maintaining optimal combustion. Wiring diagrams are essential for identifying correct connections‚ color-coded wires‚ and component links. Proper wiring also minimizes electromagnetic interference and ensures longevity of the ignition system‚ making it vital for maintaining the vehicle’s overall functionality and efficiency.
Key Components of the 1966 Chevelle Ignition Coil Circuit
The ignition coil‚ distributor‚ and spark plugs are the primary components‚ working together to generate and deliver the high-voltage spark essential for engine operation.
2.1 The Ignition Coil as a Transformer
The ignition coil acts as a transformer‚ converting the battery’s 12 volts into the high voltage required for spark plugs. This process is essential for igniting the air-fuel mixture in the engine’s cylinders. The coil’s primary and secondary windings work together to step up the voltage‚ ensuring a strong spark is delivered through the ignition wires to the spark plugs. Proper wiring‚ as shown in the PDF diagram‚ ensures efficient energy transfer and reliable engine performance.

2.2 The Distributor and Its Connection to the Ignition Coil
The distributor serves as the central component‚ directing high voltage from the ignition coil to the correct spark plug at the right time. It is connected to the ignition coil’s output terminal‚ ensuring the high-voltage spark is distributed efficiently. The distributor cap and rotor work in tandem to guide the spark to each cylinder. The wiring diagram in the PDF highlights this connection‚ showing how the coil’s secondary terminal links to the distributor. Proper wiring ensures precise spark delivery‚ which is critical for smooth engine operation and performance.
2.3 Spark Plugs and Ignition Wires
Spark plugs ignite the air-fuel mixture in the engine’s cylinders‚ while ignition wires deliver high voltage from the ignition coil to the spark plugs. The distributor connects to the spark plugs via these wires‚ ensuring synchronized spark delivery. Ignition wires are typically made of heat-resistant materials like silicone to withstand engine temperatures. Proper routing and connections‚ as shown in the wiring diagram‚ are crucial for reliable spark delivery. Regular inspection and replacement of worn or cracked ignition wires are essential to maintain optimal engine performance and prevent misfires.
Understanding the 1966 Chevelle Ignition Coil Wiring Diagram

The wiring diagram visually maps the ignition system’s electrical connections‚ highlighting the ignition coil’s role in generating high voltage for spark plugs and distributor operation.
3.1 Visual Representation of the Electrical Connections
The wiring diagram serves as a visual guide‚ illustrating the flow of electrical power from the battery to the ignition coil‚ distributor‚ and spark plugs. It outlines the connections between components‚ ensuring proper voltage distribution. Color-coded wires are clearly marked‚ simplifying identification and installation. The diagram also highlights grounding points and capacitor placements for radio interference reduction. This visual representation is crucial for diagnosing issues and performing modifications accurately. By following the PDF diagram‚ enthusiasts can restore or upgrade their 1966 Chevelle’s ignition system with confidence;
3.2 Color Coding and Wire Identification
The wiring diagram uses color coding to simplify wire identification. The positive ignition wire is typically pink‚ while the negative side is often black. Capacitor wires are also color-coded‚ with specific hues indicating their purpose. This system ensures consistency and reduces confusion during installation or troubleshooting. Key wires‚ such as the 12V ignition feed‚ are clearly marked‚ aiding in accurate connections. Variations may exist for different models‚ such as the Corvette‚ but the color coding remains a reliable guide for enthusiasts working on their 1966 Chevelle’s ignition system.
3.3 Diagram Variations for Different Models (Chevy II‚ Chevelle‚ Corvette)
The wiring diagrams for the 1966 Chevy II‚ Chevelle‚ and Corvette differ slightly due to variations in their electrical systems. For example‚ the Corvette diagram specifies an 18 black wire instead of the 12 white or 20 black wires used in other models. The Chevelle diagram highlights the pink wire as the 12V ignition feed‚ while the Chevy II diagram focuses on a more straightforward ignition circuit. These variations ensure accurate wiring for each model‚ preventing confusion during repairs or modifications.
Step-by-Step Guide to Wiring the Ignition Coil
Connect the battery to the ignition coil‚ ensuring proper voltage supply. Link the coil to the distributor for spark distribution. Install capacitors to reduce radio interference.
4.1 Connecting the Battery to the Ignition Coil

Start by attaching the positive battery terminal to the ignition coil’s positive terminal using the appropriate gauge wire. Ensure a secure connection to maintain consistent voltage supply. Ground the negative terminal to the engine block or chassis for proper circuit completion. Refer to the wiring diagram for correct polarity and routing. Avoid any shortcuts to prevent electrical noise or system malfunctions. This step ensures reliable power delivery to the ignition system‚ essential for optimal engine performance.
4.2 Linking the Ignition Coil to the Distributor
Connect the ignition coil’s output terminal to the distributor using a high-tension spark plug wire. Ensure the wire is securely attached to both the coil and distributor cap. Proper routing is essential to prevent cross-firing or interference. The distributor directs the high-voltage spark to the correct cylinder at the right time‚ ensuring efficient combustion. Follow the wiring diagram for accurate connections‚ as misrouting can lead to engine misfires or poor performance. This step is critical for maintaining proper ignition timing and overall engine operation.
4.3 Installing Capacitors for Radio Interference Reduction
To install capacitors for radio interference reduction in your 1966 Chevelle‚ follow these steps:
Locate the Ignition Coil and Distributor: Start by identifying the ignition coil‚ typically found near the distributor. Consult a wiring diagram or repair manual for precise locations.
Connect the Capacitor to the Ignition Coil: Attach the capacitor to the positive terminal of the ignition coil. Ensure the connection is secure to prevent any loose contacts.
Ground the Capacitor: Properly ground the capacitor by connecting it to a metal part of the engine or chassis. This ensures effective noise suppression.
Consider Additional Capacitors: For enhanced interference reduction‚ consider installing capacitors near the spark plug wires. This can further minimize electrical noise.
Select the Correct Capacitor Size: Refer to your wiring diagram or repair manual to choose the appropriate capacitor size to avoid potential damage to the electrical system.
Test the System: After installation‚ test the system to ensure the radio interference is reduced. If interference persists‚ verify all connections and ensure correct installation.
Secure Connections: Use proper tools and insulation‚ such as heat shrink tubing‚ to protect wires and prevent issues like sparks or shorts.
By following these steps and consulting the necessary resources‚ you can effectively reduce radio interference in your 1966 Chevelle’s ignition system.
Troubleshooting Common Issues with the Ignition Coil Wiring
Common issues include faulty connections‚ corrosion‚ and low voltage. Use a multimeter to diagnose electrical flow. Clean or replace corroded wires and ensure proper connections for reliable spark delivery.
5.1 Identifying Faulty Connections or Corrosion
Faulty connections or corrosion in the ignition coil wiring can disrupt the electrical flow‚ leading to engine misfires or no-start conditions. Inspect the wiring harness for visible damage‚ rust‚ or wear. Use a multimeter to test for continuity and identify open circuits. Clean corroded terminals or replace damaged wires to ensure proper conductivity. Pay special attention to connections at the ignition coil‚ distributor‚ and spark plugs‚ as these are common points for corrosion buildup. Regular maintenance can prevent such issues and maintain reliable ignition system performance.
5.2 Diagnosing Low Voltage or No Spark Conditions
Low voltage or no spark conditions in the 1966 Chevelle ignition system often stem from issues like faulty connections‚ corrosion‚ or a malfunctioning ignition coil. Use a multimeter to test the voltage at the ignition coil’s primary and secondary circuits. Ensure the distributor cap and spark plug wires are free from cracks or damage. Verify that the ignition switch and battery connections are functioning properly. If no spark is present‚ check the coil’s resistance and compare it to the manufacturer’s specifications. Addressing these issues can restore proper spark generation and engine performance.
5.3 Resolving Ignition Coil Failures
Ignition coil failures in the 1966 Chevelle can often be traced to faulty wiring‚ corrosion‚ or excessive wear. Begin by consulting the wiring diagram to identify the coil’s connections. Test the battery voltage reaching the coil using a multimeter to ensure it’s receiving the proper 12V supply. Inspect the primary and secondary windings for any signs of damage or wear. Replace the coil if resistance levels deviate from specifications. Additionally‚ check the distributor cap and spark plug wires for cracks or deterioration‚ as these can prevent proper spark formation. Addressing these issues will help restore reliable ignition system performance.

The Importance of a PDF Wiring Diagram for the 1966 Chevelle
A PDF wiring diagram provides a clear‚ detailed visual guide for understanding and repairing the electrical system‚ ensuring accurate troubleshooting and modifications for optimal performance.
6.1 Benefits of a Comprehensive Wiring Guide
A comprehensive wiring guide offers clear‚ detailed schematics‚ simplifying electrical system navigation. It provides precise wire color identification and connection points‚ reducing errors in repairs and upgrades. By ensuring proper installation and troubleshooting‚ it enhances safety and system reliability. Enthusiasts and technicians can quickly identify issues‚ saving time and effort. The guide also supports modifications‚ making it an essential resource for maintaining and enhancing the vehicle’s electrical integrity.
6.2 How to Use the PDF Diagram for Repairs and Modifications
Using the PDF wiring diagram‚ enthusiasts can cross-reference components like the ignition coil‚ distributor‚ and spark plugs. Color-coded wires simplify identification‚ ensuring accurate connections. For repairs‚ locate the faulty circuit using the diagram‚ then trace and test wires. When modifying‚ the guide helps integrate aftermarket parts seamlessly. Detailed descriptions and visual layouts minimize errors‚ while troubleshooting sections address common issues. This resource is indispensable for maintaining or upgrading the electrical system‚ ensuring reliability and performance. Proper use of the PDF diagram guarantees a safer and more efficient workflow.